The Core Slopers Accelerator provides focused, in-depth instruction on creating fundamental bodice and skirt “slopers”: the essential base patterns used in garment design. This course guides you through the professional techniques of draping directly onto a dress form and accurately transferring those drapes into precise paper patterns. You will learn to create versatile foundation pieces that can be adapted into a multitude of garment styles.
What You Will Learn:
Dress Form Preparation:
- Accurately measure and apply essential reference tapes (center front, center back, bust, waist, hip, side seams, neckline, armhole, shoulder) to your dress form
Bodice Draping & Patternmaking:
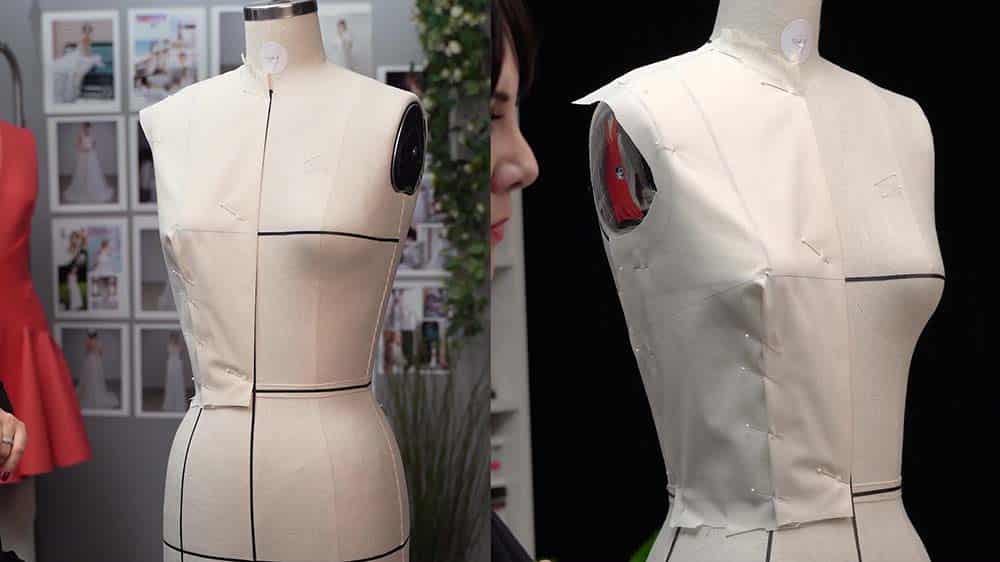
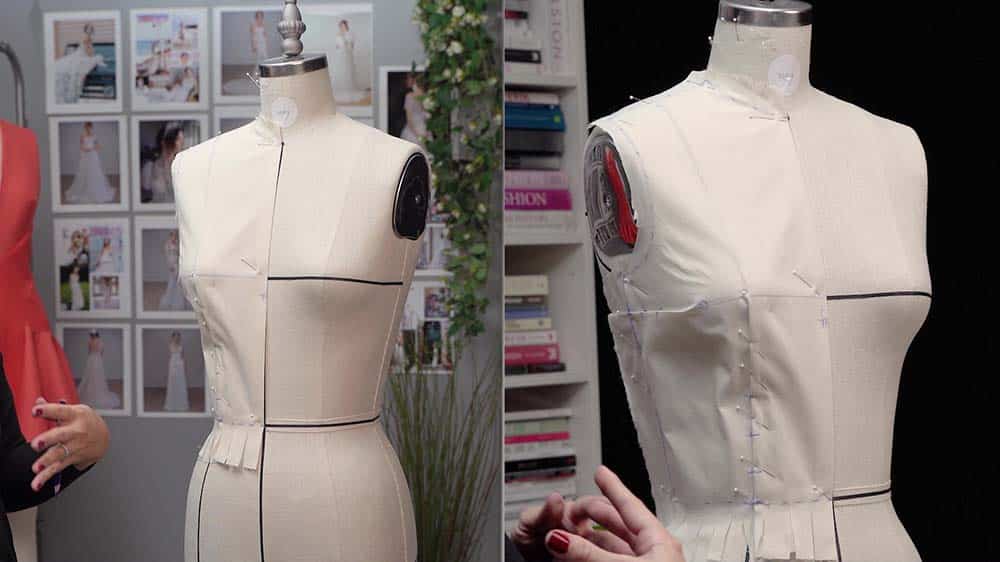
- Drape a basic bodice with a single waist dart, achieving a foundational fit.
- Drape a basic bodice with two darts (waist and bust/side seam) for more complex shaping and fit, particularly for fuller bust areas.
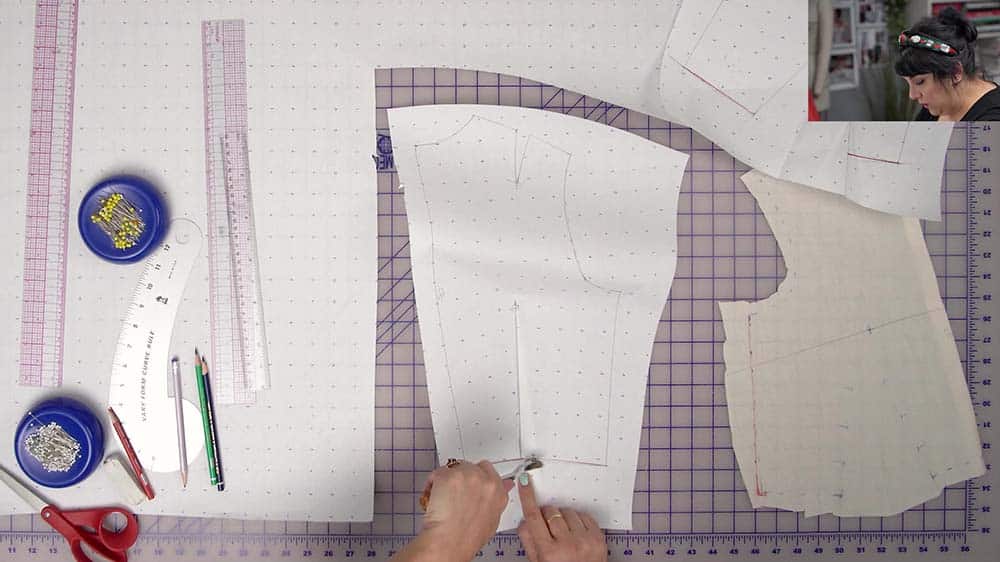
- Transfer your draped muslin bodice pieces to paper, mark dart placements, and establish grainlines.
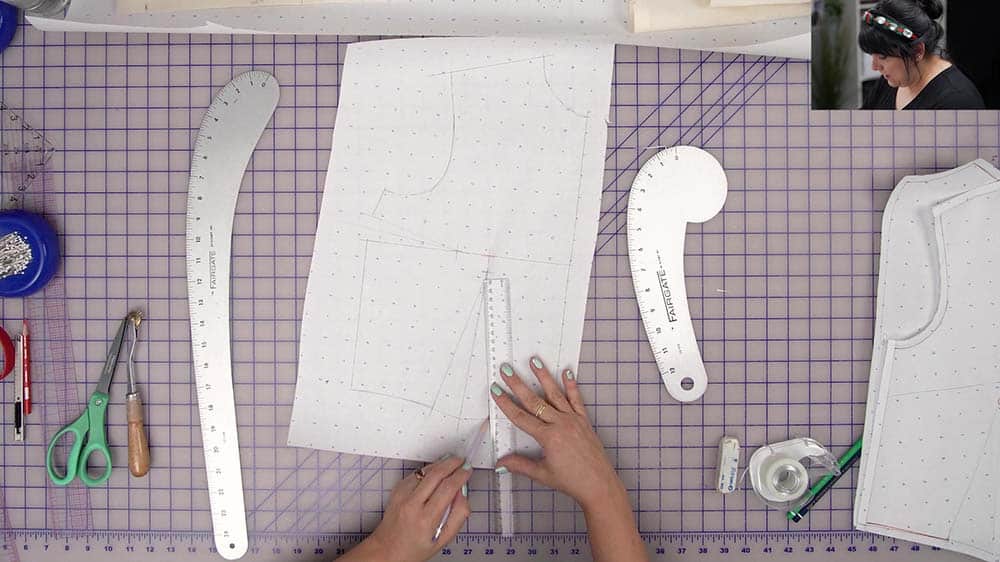
- True your bodice patterns, including closing and perfecting darts, and ensuring seam lines (shoulders, side seams) align correctly with corresponding back pieces.
- Add appropriate seam allowances to your finished bodice slopers.
Skirt Draping & Patternmaking:
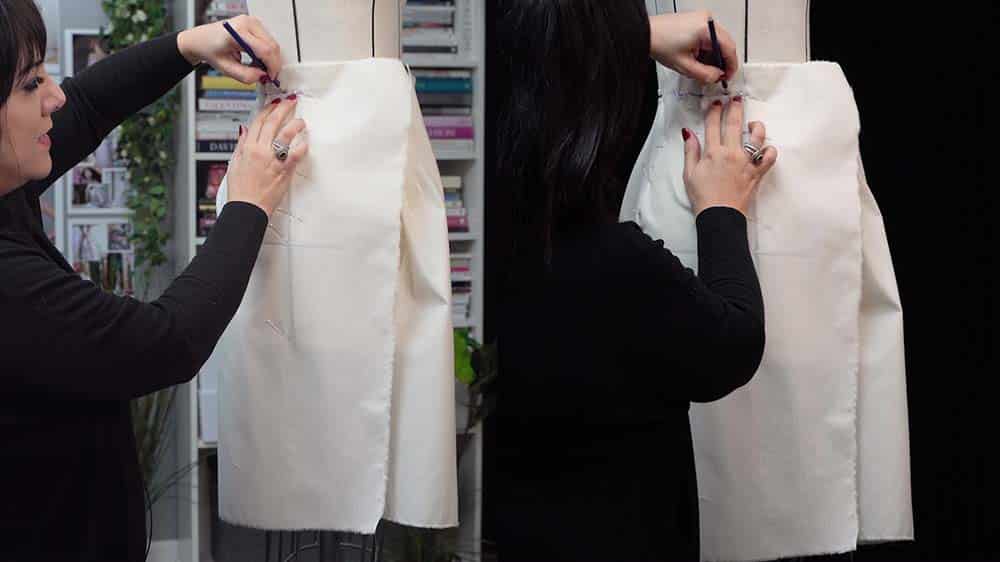
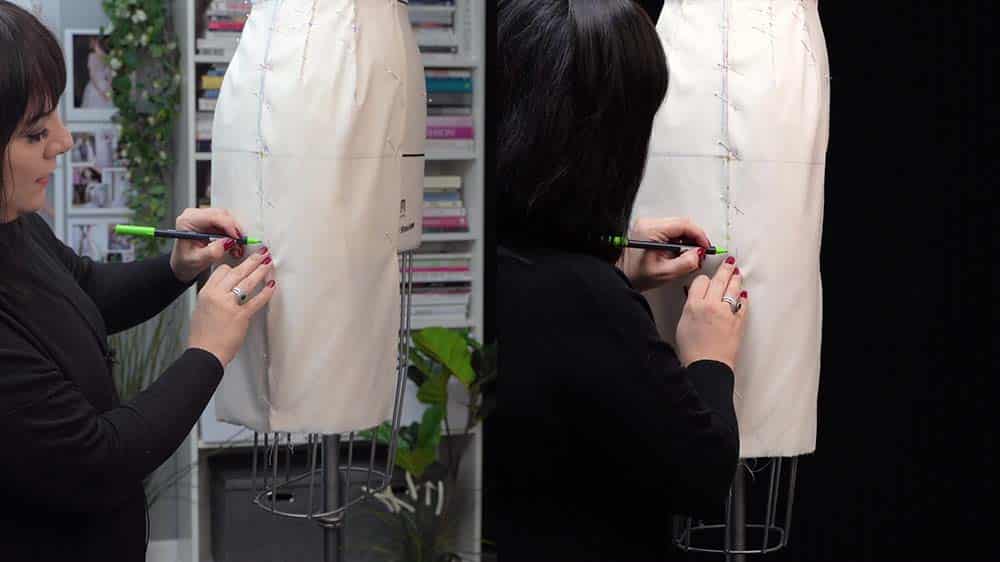
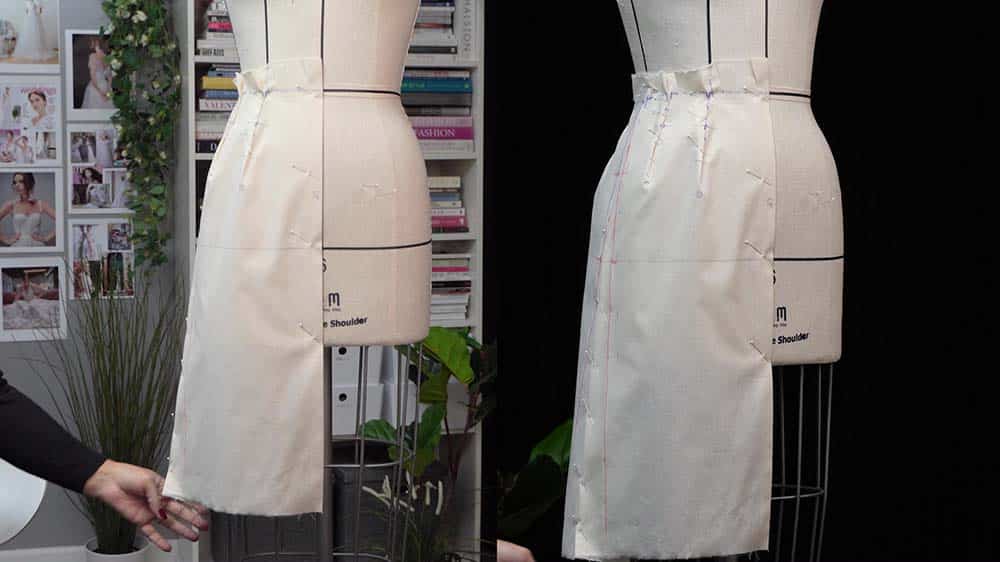
- Drape a basic straight skirt, establishing dart placements for a smooth fit over the hips.
- Adapt the straight skirt drape to create an A-line skirt by adding flare from the waist or hip.
- Modify the straight skirt drape to create a tapered skirt by reducing width towards the hem.
- Transfer your draped muslin skirt pieces to paper, ensuring correct dart capture and grainlines.
- True your skirt patterns, perfecting dart shapes and waistline curves.
- Learn techniques to adjust skirt length and match side seams for various styles.
- Add appropriate seam allowances to your finished skirt slopers.
Integration and Fit:
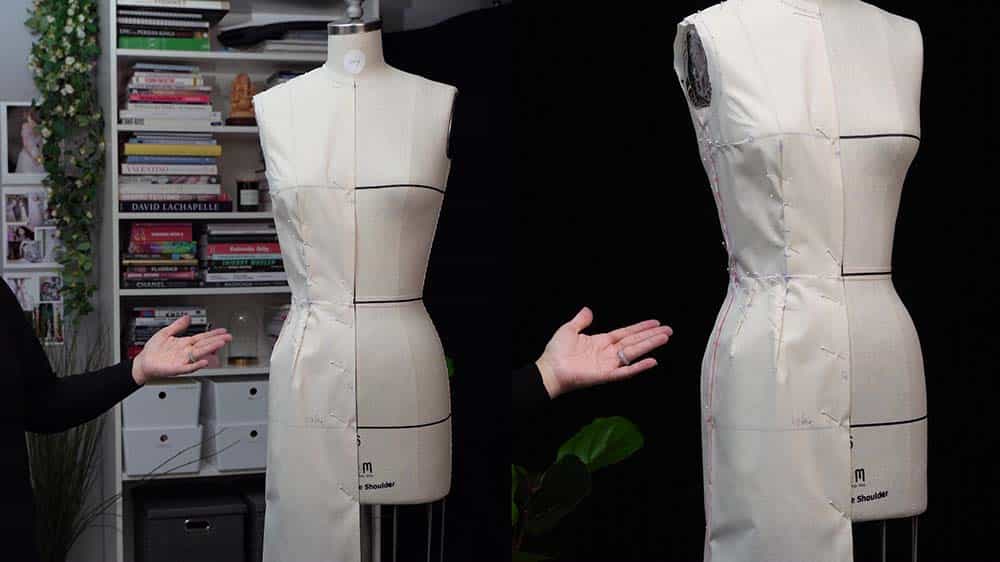
- Understand how to align and attach bodice and skirt slopers at the waistline, ensuring darts and seams correspond for a cohesive dress foundation.
- Learn to make minor ease adjustments on the dress form and translate them to your patterns for improved comfort and fit.
Course Content & Structure:
The course is delivered through a series of detailed video lessons, demonstrating each step of the draping and patternmaking process.
Module 1: Preparing Your Dress Form
- Taping essential guidelines: Center lines, bust, waist, hip, side seams, neckline, shoulder, armhole, and optional princess lines.
- Understanding necessary tools: Scissors, pins, measuring tape, marking pencils/markers, muslin.
- Measuring the dress form for initial muslin block preparation.
Module 2: Basic Bodice with 1 Dart (Waist)
- Preparing muslin: Pressing, marking bust line reference.
- Draping the front bodice: Aligning, pinning, smoothing, slashing for neck/shoulder fit, creating the waist dart.
- Draping the back bodice: Aligning, shoulder/neck fit, creating back shoulder and waist darts.
- Marking draped pieces: Apex, seam lines, dart legs, end points.
- Transferring to paper: Using a tracing wheel, establishing grainlines.
- Truing the pattern: Closing darts, correcting seam lines, ensuring continuity.
- Adding seam allowances.
Module 3: Basic Bodice with 2 Darts (Waist & Bust/Side Seam)
- Draping the front bodice: Similar initial steps, creating a waist dart and an additional dart at the bust line/side seam for enhanced shaping.
- Marking and transferring the 2-dart bodice.
- Truing the 2-dart bodice pattern.
Module 4: Skirt Slopers
- Preparing muslin for skirts: Measuring for length and width.
- Straight Skirt: Draping front and back, establishing hip line reference, creating waist darts for fit.
- Tapered Skirt: Modifying the straight skirt drape by taking in fabric from the hip line to the hem.
- A-Line Skirt: Modifying the straight skirt drape by adding fabric/flare from the waist or hip line outwards.
- Marking draped skirt pieces: Waistline, darts, side seams, hemline references.
- Transferring skirt drapes to paper.
- Truing skirt patterns: Perfecting darts, waistline, and side seam curves, adjusting for different styles (straight, A-line, tapered).
- Adding seam allowances.
Module 5: Attaching Bodice and Skirt
- Demonstrating how drafted bodice and skirt slopers are pinned together on the dress form at the waistline.
- Ensuring alignment of darts and side seams between the bodice and skirt for a balanced dress foundation.
- Final checks for fit and proportion.
Key Features:
- Step-by-Step Video Demonstrations: Clear, close-up visuals of all draping and patternmaking techniques.
- Detailed Explanations: Instructor commentary guiding you through each decision and action.
- Focus on Foundational Skills: Mastering the core slopers provides a strong basis for future design explorations.
- Practical Application: Learn by doing, creating tangible patterns you can use immediately.
- Professional Techniques: Acquire industry-standard methods for draping and pattern creation.
Who Is This Course For?
- Individuals with some basic sewing experience looking to advance to custom patternmaking.
- Aspiring or student fashion designers seeking to build a strong foundation in pattern creation.
- Home sewers who want to achieve a better fit than commercial patterns offer.
- Anyone interested in learning the art of draping and creating personalized garment blocks.
Materials & Prerequisites:
- A dress form (demonstrations use a size 6, but techniques are adaptable).
- Muslin fabric.
- Essential Draping Tools: Fabric scissors, paper scissors, pins (dressmaker and pattern), draping tape (e.g., 1/4″ or 1/8″ twill tape or narrow ribbon), measuring tape (inches & cm).
- Marking Tools: Pencils (graphite, red, blue), tracing wheel (pointy), chalk or fabric marker (optional, for muslin).
- Patternmaking Tools: Pattern paper (dot paper recommended), rulers (straight, clear gridded, French curves), awl/punch (for dart points), paper tape.
- Basic familiarity with sewing terms and garment construction is beneficial but not strictly required to follow the draping and patternmaking steps.