Trousers are the most technically demanding garment to fit well, and one of the most rewarding to make when they do.
The difficulty isn’t accidental. A trouser pattern has to solve a problem that no other garment faces: fitting a three-dimensional body in three dimensions at once. The crotch depth (the distance from waist to seat) varies enormously between people and is almost never right in a commercial pattern. The crotch curve has to be different at the front and back. The waistline, hip, thigh, leg length, and back rise all interact. When any of these are off, the fitting problems are complex and layered, adjusting one often creates another.
Most sewers who’ve tried to make trousers from commercial patterns have experienced this. And most have concluded, quietly, that it must be their body. It isn’t.
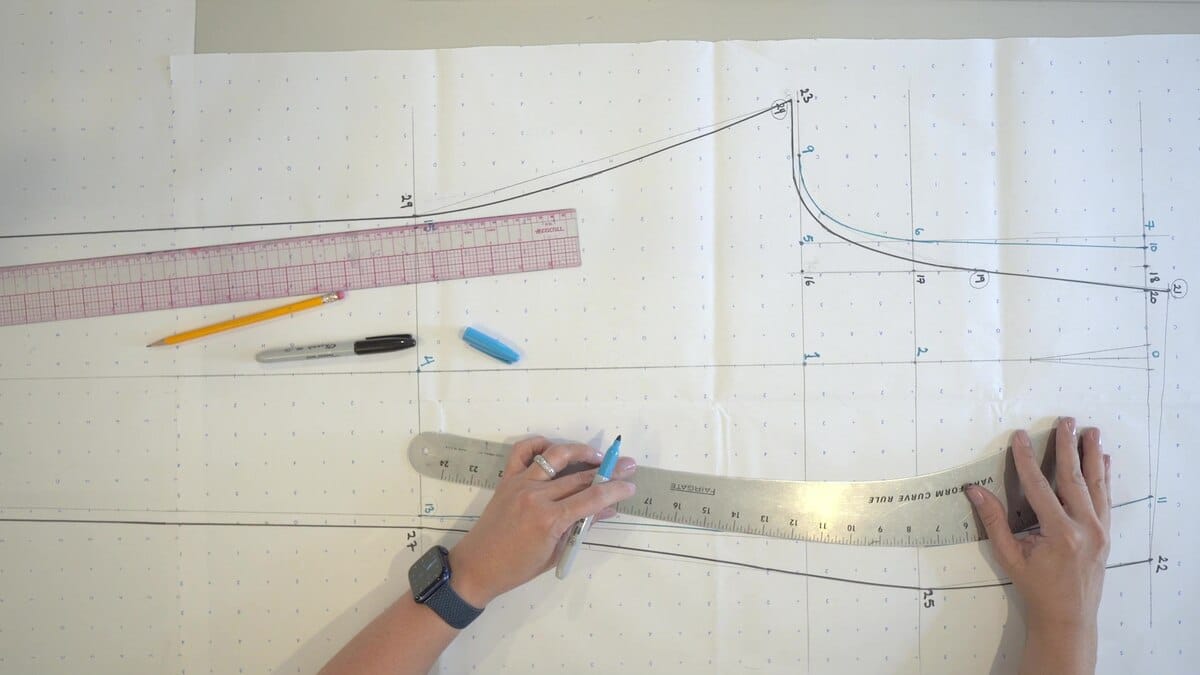
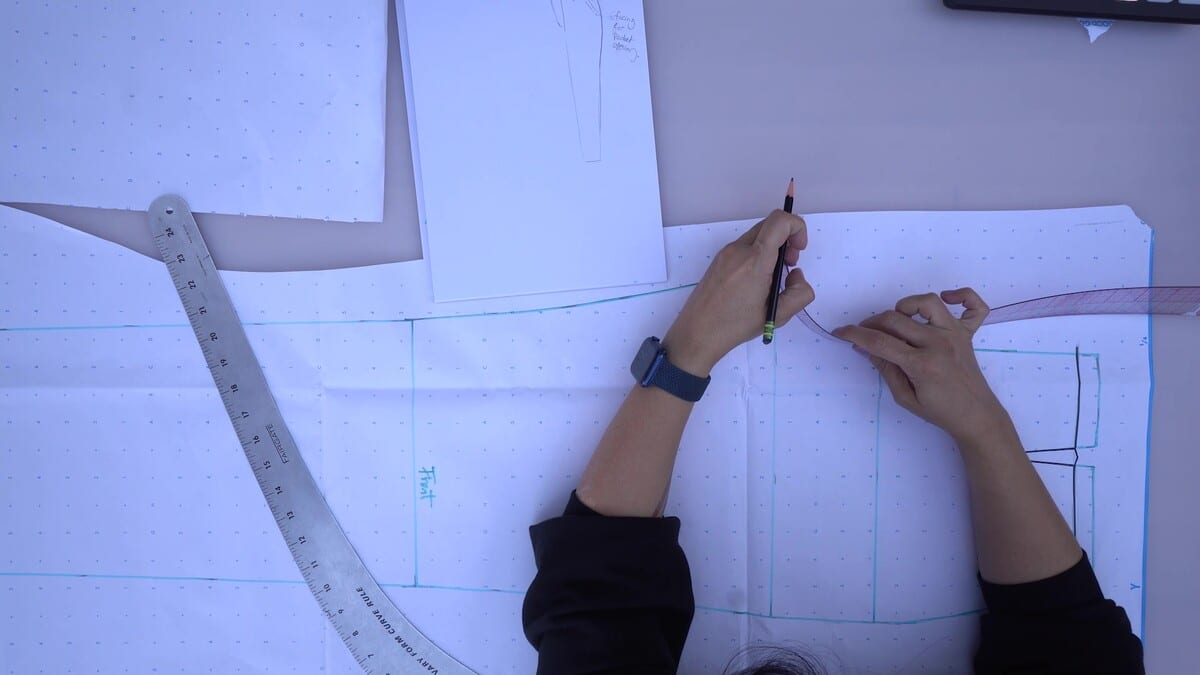
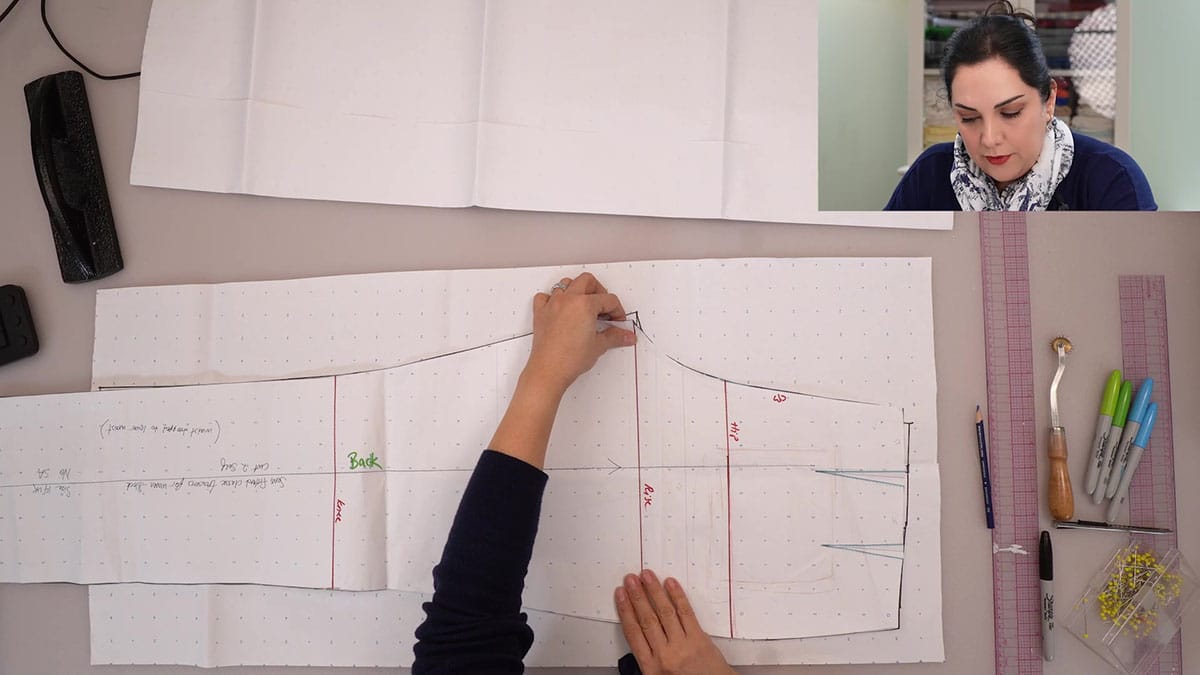
This course starts from a block, a semi-fitted trouser pattern drafted from your specific measurements: your crotch depth, your hip, your inside leg. Because the block was built for your proportions from the first construction line, the corrections are much smaller. And because the course walks through the fitting process in detail, what each wrinkle and drag line is telling you, and what to do about it on the paper pattern, you develop the language to work through fitting problems rather than guess at them.
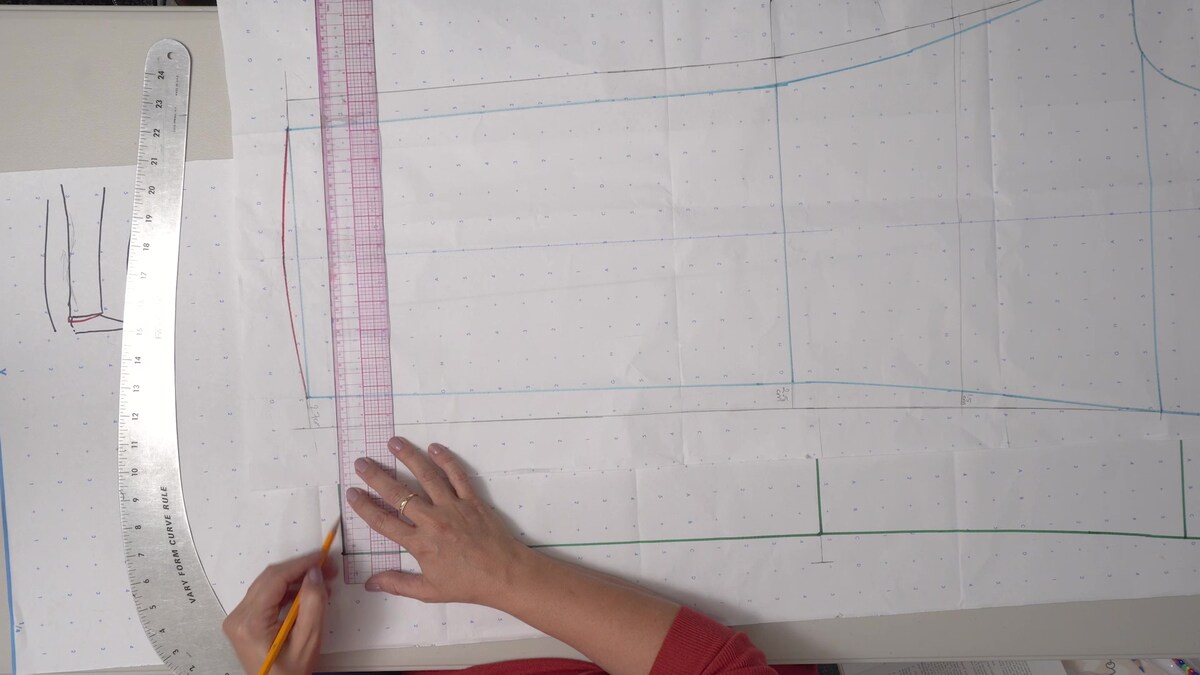
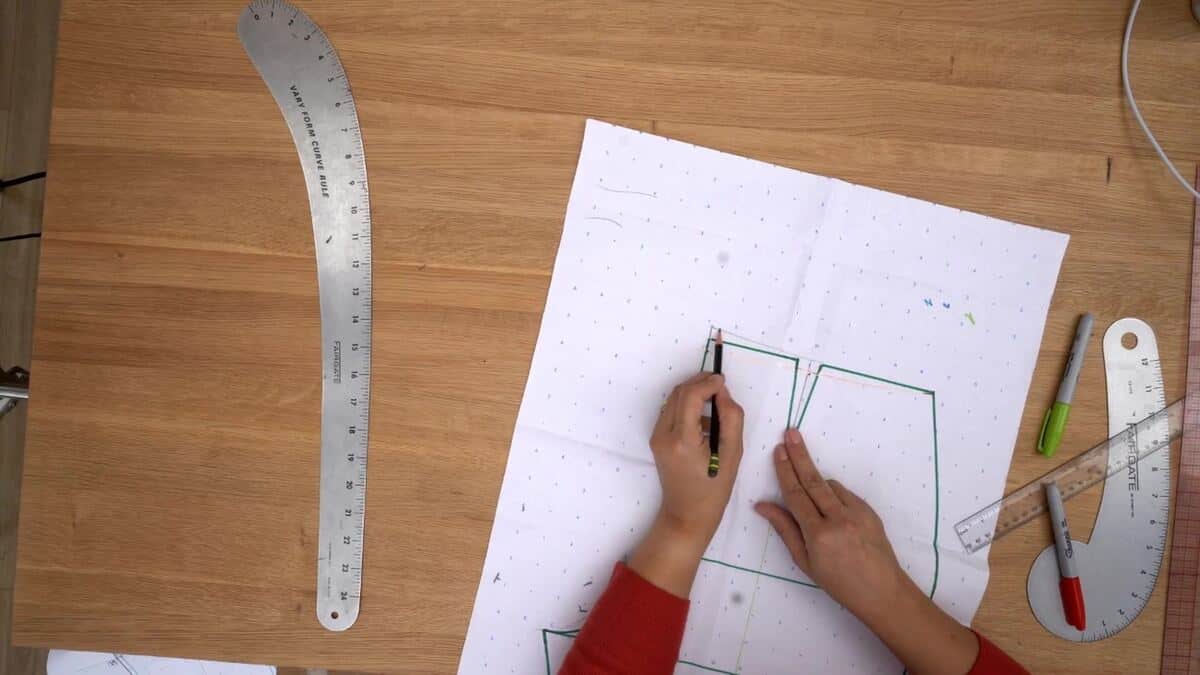
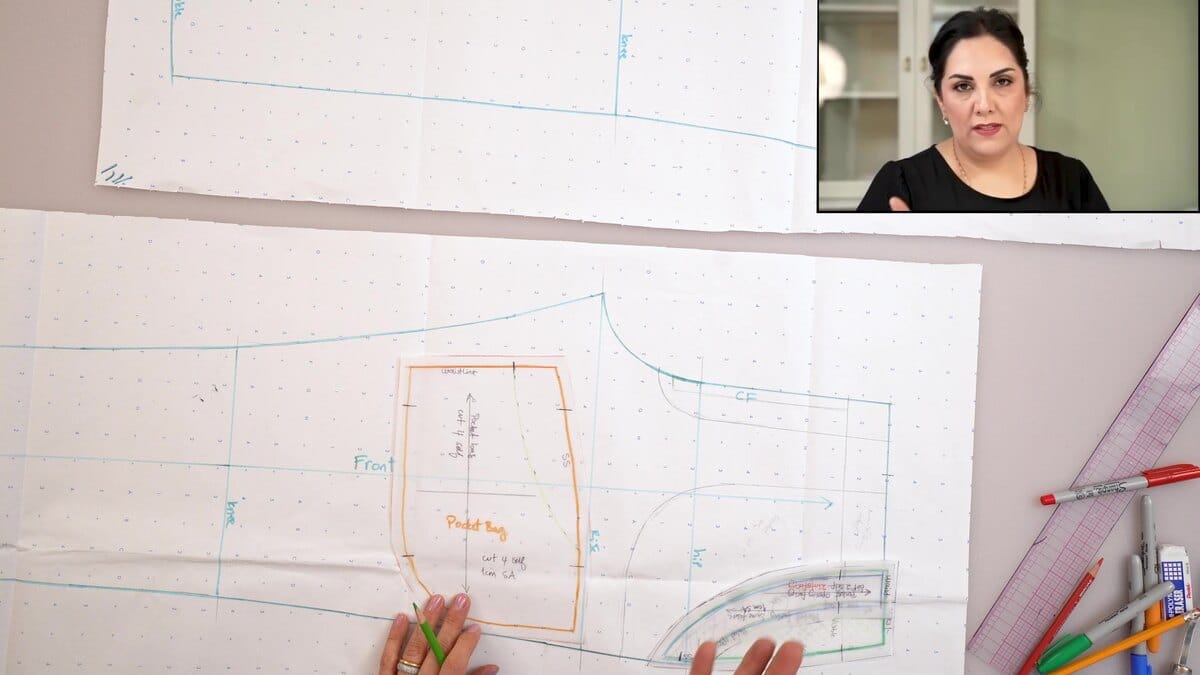
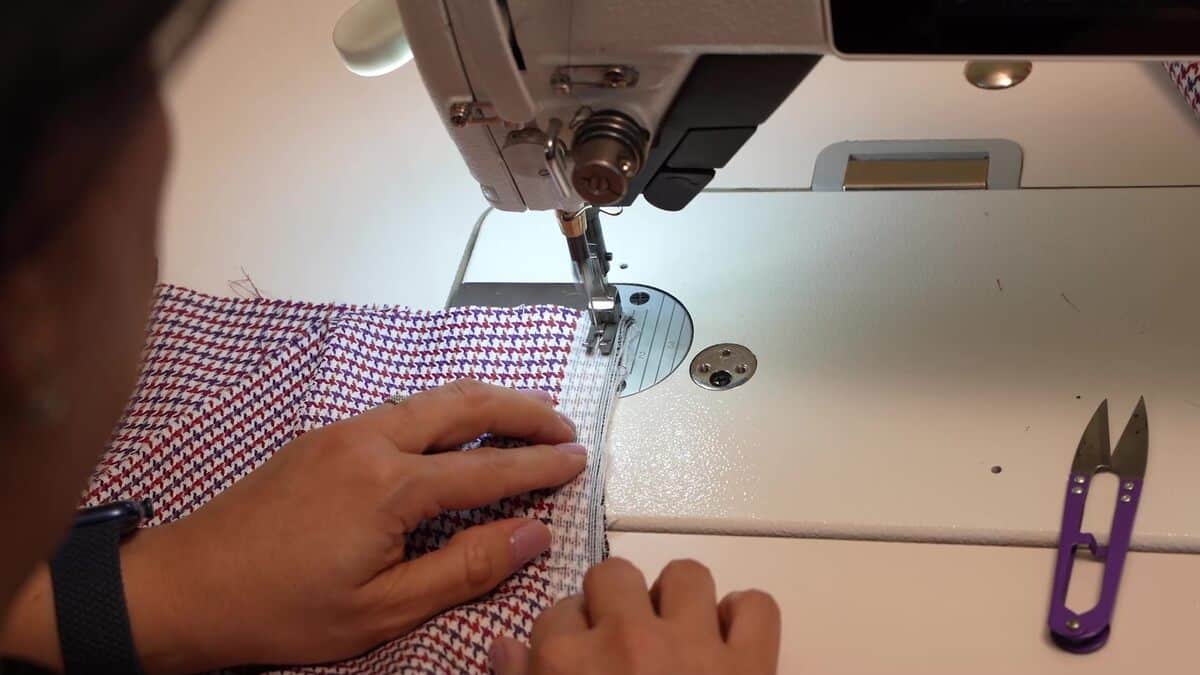
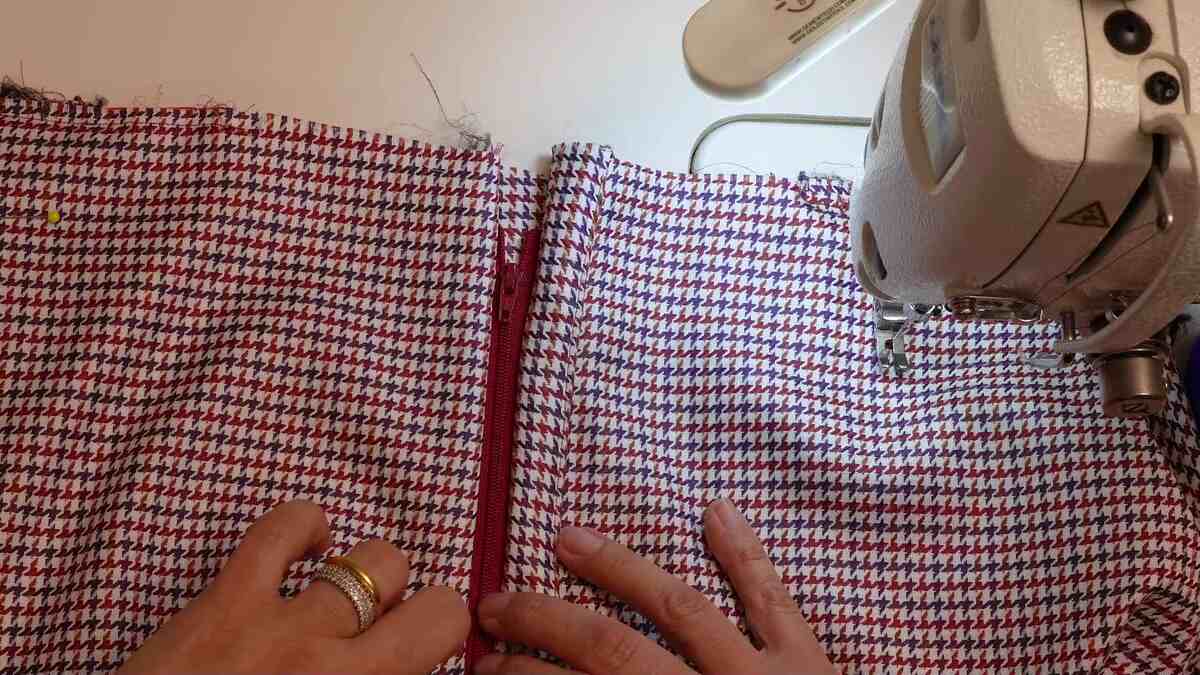
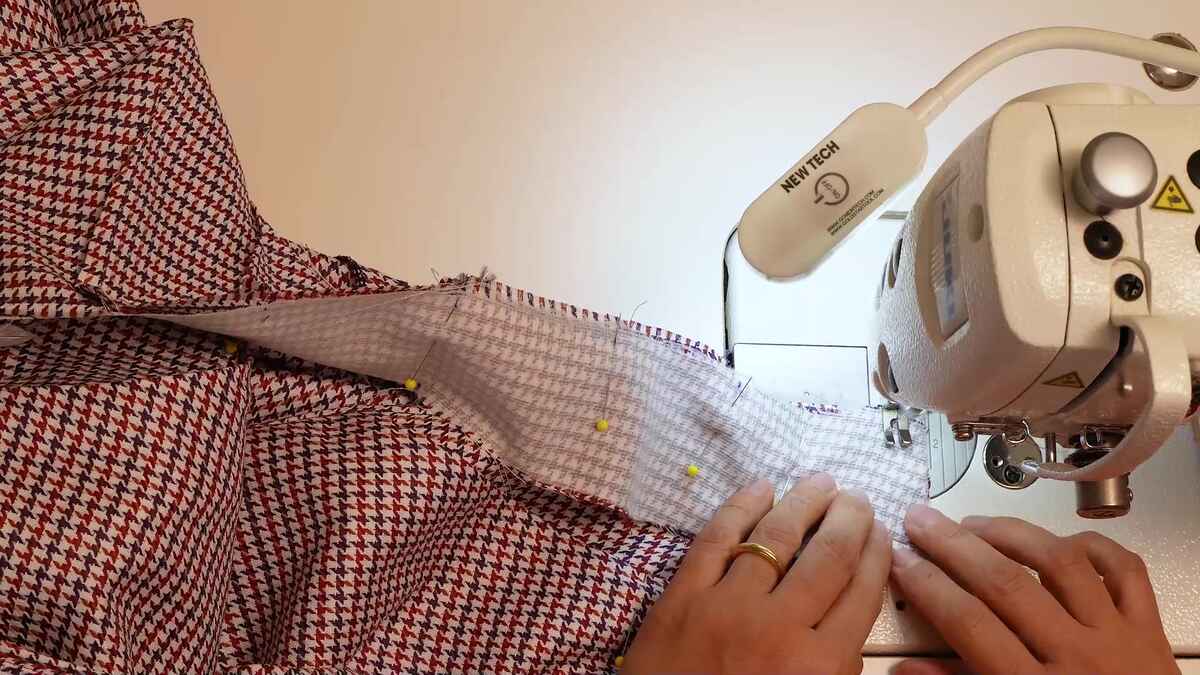
The course follows the arc of a real construction project. The first five lessons focus on drafting, tracing, and fitting the block. The middle section develops the block into a finished working pattern with all the elements of a tailored trouser: pocket placement, fly front, and leg shaping. The construction section then takes you through sewing the trousers step by step. The course closes with a dedicated lesson on fit correction for trousers that have already been made, including how to use vertical tucks to identify and remove excess fabric in the back.
Every lesson was taught live with students working on their own projects alongside Neda, so the sessions include practical, specific answers to the fit and construction questions that come up when you’re actually making trousers.
✅ Draft a semi-fitted trouser block from your own measurements; crotch depth, inside leg, hip, and waist
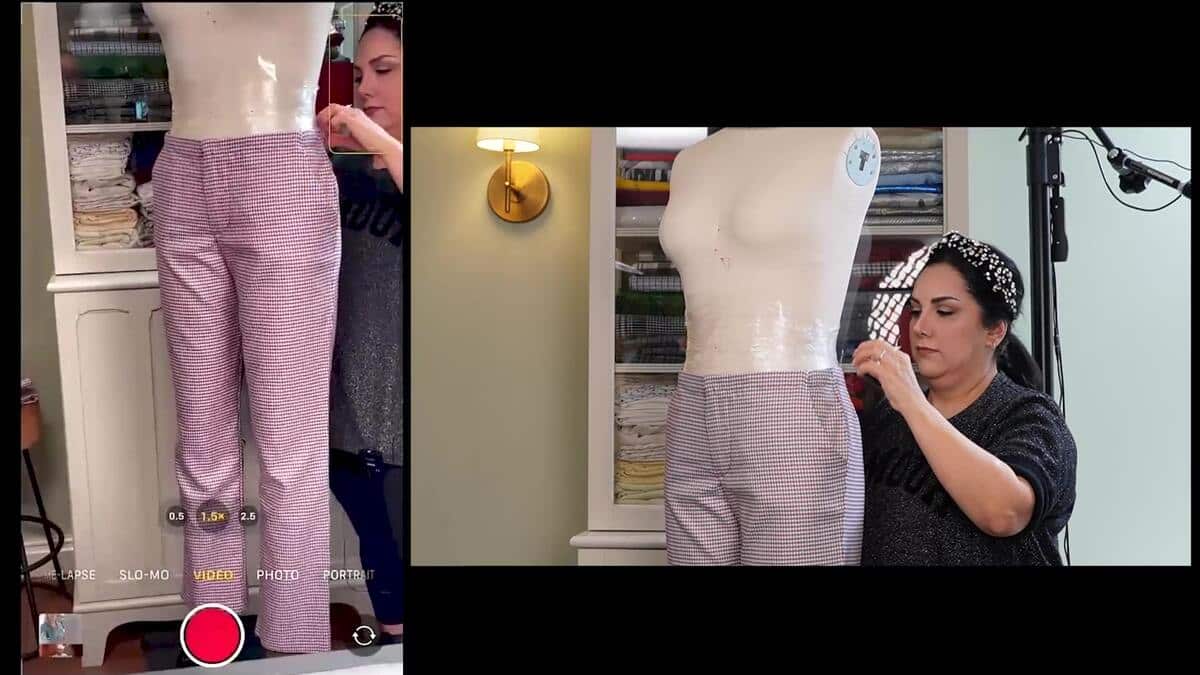
✅ Read a trouser muslin and identify what each fit problem means, and what to do about it on the pattern
✅ Correct the most common trouser fitting problems: crotch length, waistline drop, leg width, and back excess
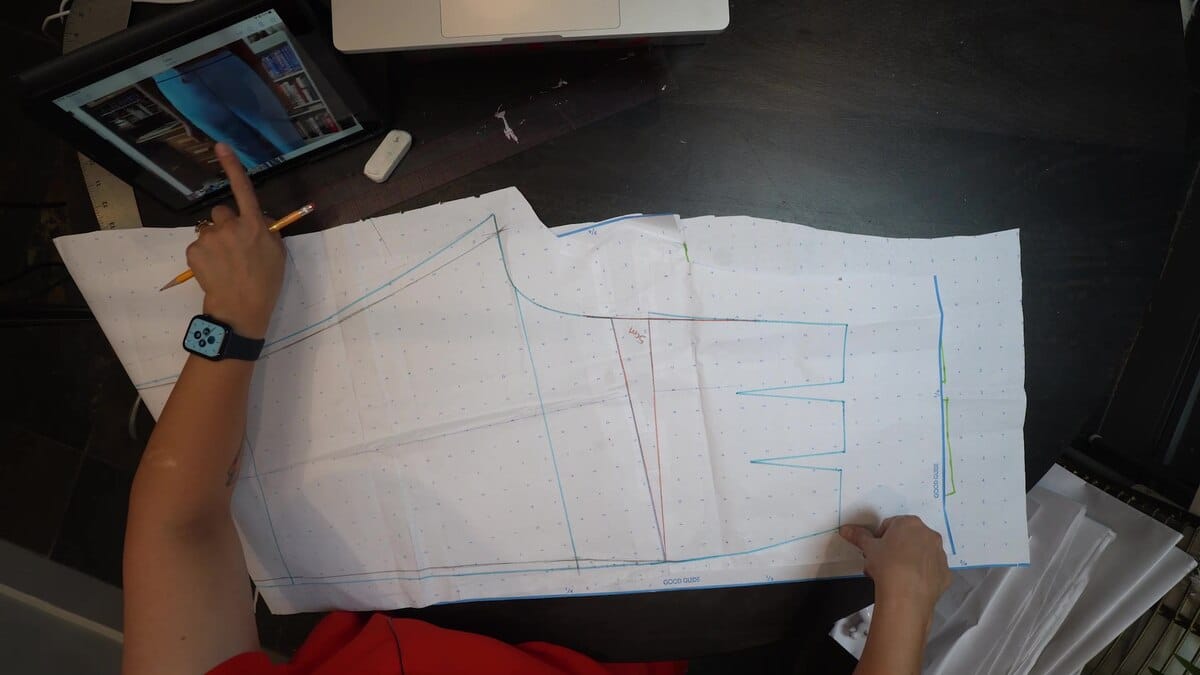
✅ Develop the fitted block into a complete working pattern with pockets, fly front, facing, and leg taper
✅ Construct a finished pair of tailored trousers; pockets, fly front, waist facing, and hemmed legs
✅ Use vertical tucks to correct fit problems in a finished trouser and translate those corrections back to the pattern
✅ Select appropriate fabrics for tailored trousers; weight, composition, drape, and structure
✅ Use a well-fitting ready-to-wear trouser as a design reference for pattern development
One of the most useful things this course teaches is how to read a trouser muslin; to translate what you see into a specific pattern correction. Here’s a preview of what that looks like:
-> Horizontal drag lines below the seat
Crotch depth is too short, the pattern needs lengthening between the waist and crotch.
-> Vertical excess fabric at the back
The back crotch curve is too deep or too wide, a vertical tuck identifies the exact correction.
-> Waistband sitting away from the body
The waistline needs dropping at that specific point on the pattern.
-> Drag lines from the crotch toward the thigh
The crotch curve needs refining or the leg width needs adjusting at a specific level.
Sewists who want to make properly fitting trousers without adapting a commercial pattern. Some sewing experience is assumed, this course focuses on pattern drafting and tailored construction, not basic sewing technique.
If you’ve tried commercial trouser patterns and found the fitting adjustments too layered to solve, or if you’ve given up on making trousers at all because nothing ever quite fit, this course addresses the structural problem, not just the surface symptoms.