fbpx

Dress Project: Amanda

5 hrs 13 mins

Welcome to the Amanda Dress Project!


Designed with a flattering draped skirt and a well fitted, open V-neckline bodice with straps.
For any occasion, this sexy celebration gown will steal the show.


Amanda Dress Description: 

  • Draped envelope skirt,
  • Princess bodice, well fitted, open v neckline
  • Fully lined
  • Supportive shoulder straps 
  • Back zip closure
  • Waist seam
  • Fully lined envelope draped skirt


Project Steps:

  • Draping with muslin over dress form,  unique size 14  (not Standard US Sizing)
  • Turning into sewing pattern
  • Fabric properties discussed and shown
  • Cutting fabric 
  • Sewing on the machine
  •  Fitting and tailoring instructions on dress form
  • Hand stitching and finishing details


Fabric amount:

  •  Approximately you need 2 to 2 ½”  yards of fabric for top fabric,  depending on the length of your choosing and the width of your fabric.
  •  It is the same amount for the lining fabric. If you wish, you can only line the bodice.  
  •  2 and 2 ½” of muslin for draping
  • Invisible zipper, approx. 15” to 18” 
  • Knit fusible interfacing for the bodice (do not use stiffening interfacing )
  • Lightweight Rayon seam tape, or any seam tape proper for your fabric. 


My fabric:  Medium-weight Silk + viscose blend crepe back satin


Fabrics that can be used: 

Any fabric that has a good drape, meaning it is flowy, hangs and moves in a fluid, body-skimming manner.

Lightweight wool Crepe, lightweight woven Interlock, mid-weight crepe, mid-weight or heavyweight rayon, viscose satin,  Silk/ Cashmere or soft wool Gabardine (check for the drape) lightweight Velvet,  lightweight/ mid-weight fluid draped polyester fabrics. 
LESSONS

Reference Documents to Review

PDF: Reference Documents
Lesson 1
PDF: Reference Documents
Print these PDFs for future reference!
PDF: Amanda (Red) Dress Preparation & Info (Must Read!)
Lesson 2
PDF: Amanda (Red) Dress Preparation & Info (Must Read!)
Print this PDF for future reference!

Introduction

Introduction & Taping Style Lines
Lesson 3
Introduction & Taping Style Lines
We prepare our dress form for draping by taping style lines according to our design. I demonstrated how to use graphic tape to create the neckline, princess lines, and other key elements of the dress on the form. This process helps visualize the design and allows for adjustments before starting the actual draping process.
8 mins

Draping

Draping the Bodice
Lesson 4
Draping the Bodice
How to drape the bodice for the Amanda Dress Project. I demonstrated preparing and pinning muslin pieces to the dress form, shaping the fabric around the curves, and creating the princess seams for a close-fitting bodice. I also showed how to mark style lines, add ease, and prepare the pieces for pattern making.
51 mins
Draping the Skirt
Lesson 5
Draping the Skirt
In this lesson, we drape an envelope-style skirt with pleats for the Amanda Dress. I demonstrated draping from the back to front, creating the pleated and draped effect in the front, and fitting the skirt to flatter a curvier figure. I also showed how to mark pattern pieces and prepare them for the next stage.
44 mins

Patternmaking

Transferring the Bodice to Pattern
Lesson 6
Transferring the Bodice to Pattern
How to transfer the draped bodice pieces to paper patterns. I demonstrated the process of truing pattern pieces, adjusting fit, smoothing lines, and adding seam allowances. I also covered how to mark notches, grainlines, and other key pattern information.
45 mins
Transferring the Skirt to Pattern - Part 1
Lesson 7
Transferring the Skirt to Pattern - Part 1
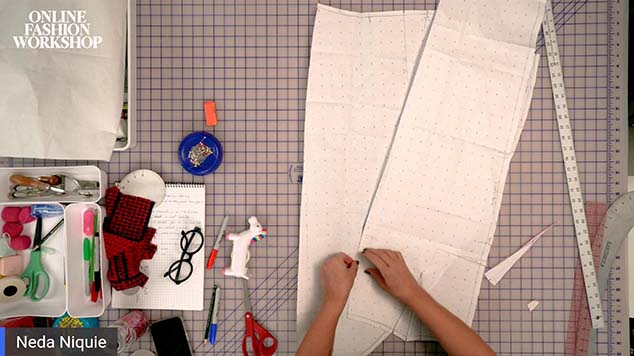
In this session, I demonstrate how to transfer the draped skirt pattern onto paper and make necessary adjustments. I trace the skirt top piece, close the pleats, and match the darts to the bodice pattern.
31 mins
Transferring the Skirt to Pattern - Part 2
Lesson 8
Transferring the Skirt to Pattern - Part 2
In this lesson, I completed the pattern for the skirt portion of the dress. I transferred the draped muslin pattern onto paper, ensuring symmetry and adding appropriate seam allowances. This prepared the skirt pattern for cutting the fashion fabric.
13 mins

Sewing

Cutting the Fabric and Lining
Lesson 9
Cutting the Fabric and Lining
I demonstrated how to cut the fabric and lining for the Amanda dress project. I explained the different fabrics I would be using for the bodice, skirt, and lining, and showed the process of cutting out all the necessary pattern pieces.
11 mins
Sewing the Bodice
Lesson 10
Sewing the Bodice
In this session, I taught how to sew the bodice of the dress, including attaching the lining to the outer fabric and adding straps. I added thin stay tapes to stabilize the neckline edges before sewing the lining and outer fabric together. Finally, I made and attached the straps.
21 mins
Sewing the Skirt
Lesson 11
Sewing the Skirt
In this lesson, I teach how to sew the skirt portion of the dress, which involves several intricate steps as it's an envelope skirt with pleats and a fully lined design. I explain the process of closing darts, attaching the back from the zipper down, and clean finishing the hem before pleating the front.
26 mins
Finishing the Dress
Lesson 12
Finishing the Dress
How to attach the skirt to the bodice, insert the zipper, and finish the lining of the dress. I demonstrate how to do each step meticulously, ensuring a clean and professional finish.
20 mins

Join our family!

More Than Just Courses, We're a Community of Dressmaking Enthusiasts

The 'Draping Society' Facebook Group is our community forum that's going to connect you with hundreds of other dressmakers just like you.